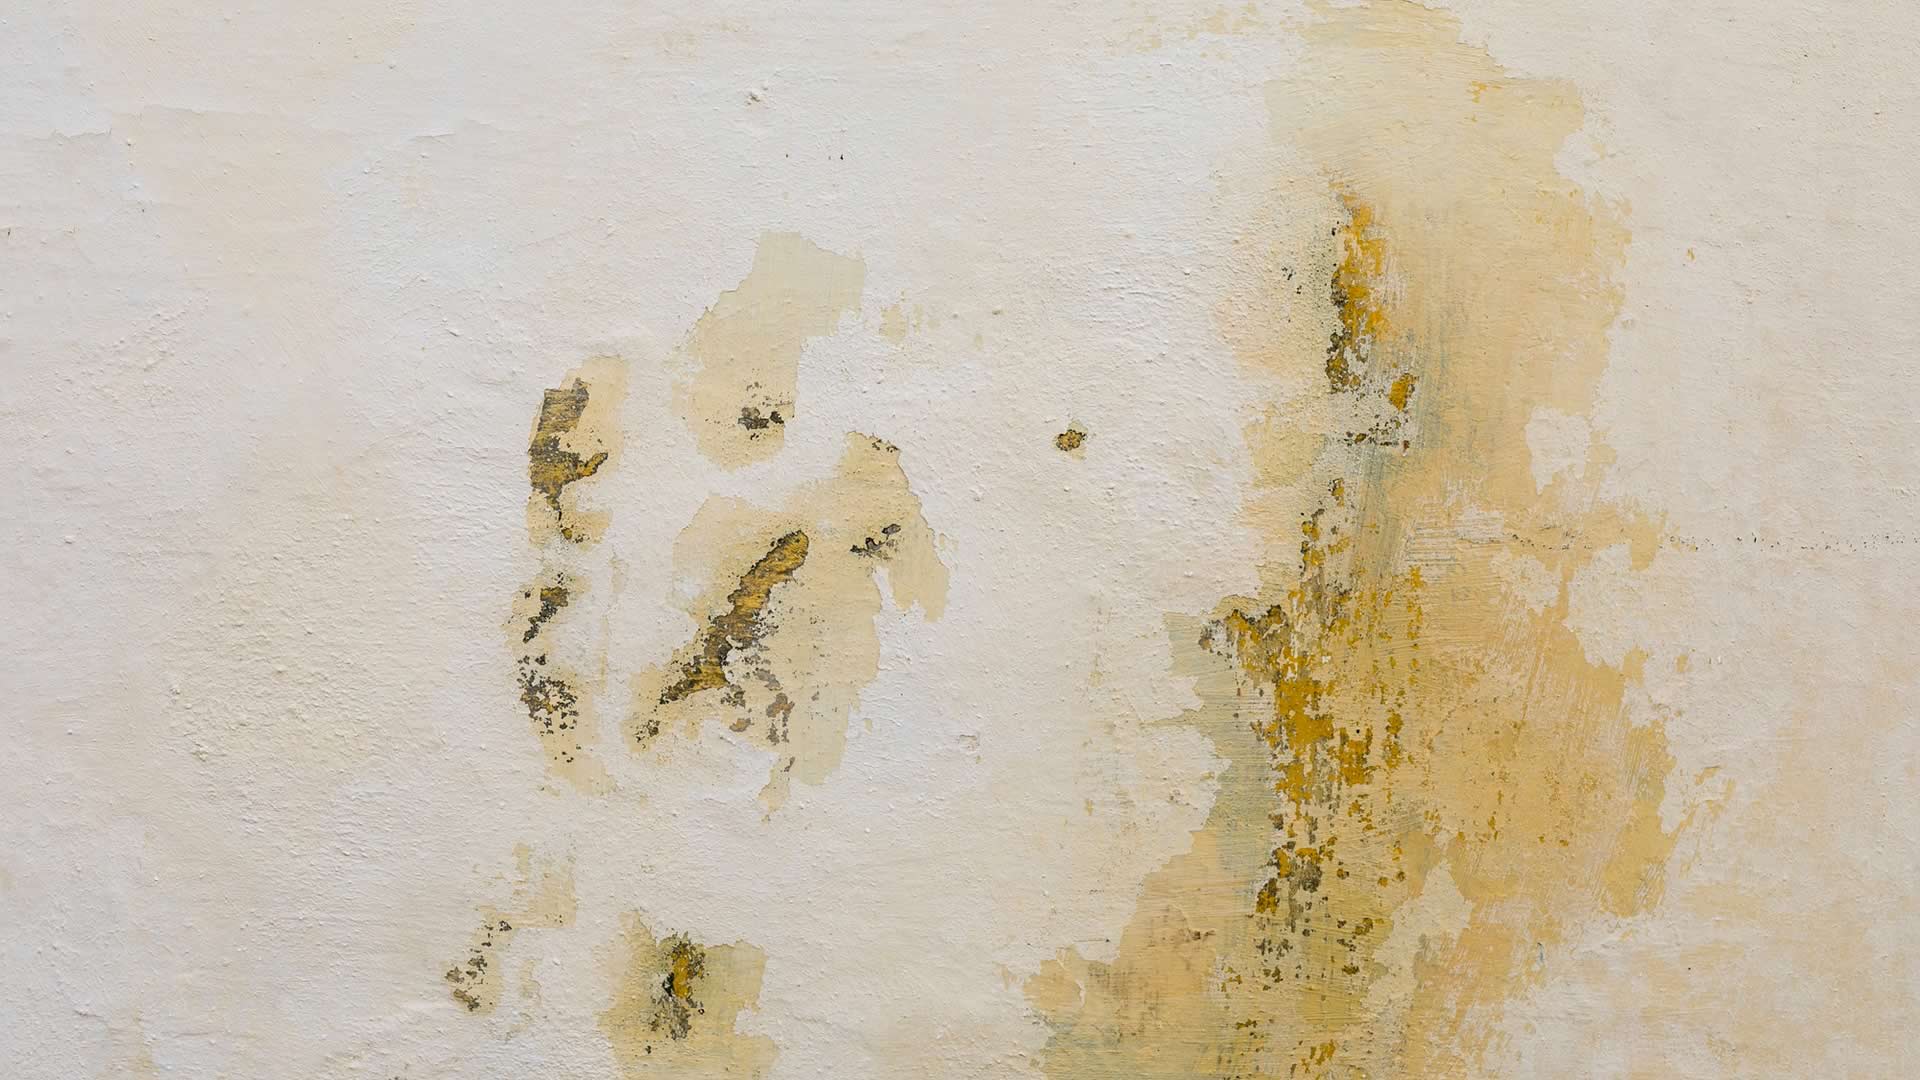
Water damage occurs when we least expect it. It can build for weeks, even months, turning a small issue into a major problem.
Missing what begins as a small leak could land you with some serious repairs down the road. Luckily, you can handle basic water damage repair on your own, so you don’t have to stress about smaller jobs.
If you’re dealing with water damage or notice water stains on your walls or ceiling, follow the basic guide below to handle it. Major issues, extensive damage, or other issues like mold may require a professional, but minor damage to your blueboard and plaster wall is simple to repair.
How to Begin
This guide focuses mainly on repairing damage to blueboard and plaster walls, so ensure that your home has blueboard and plaster walls before beginning.
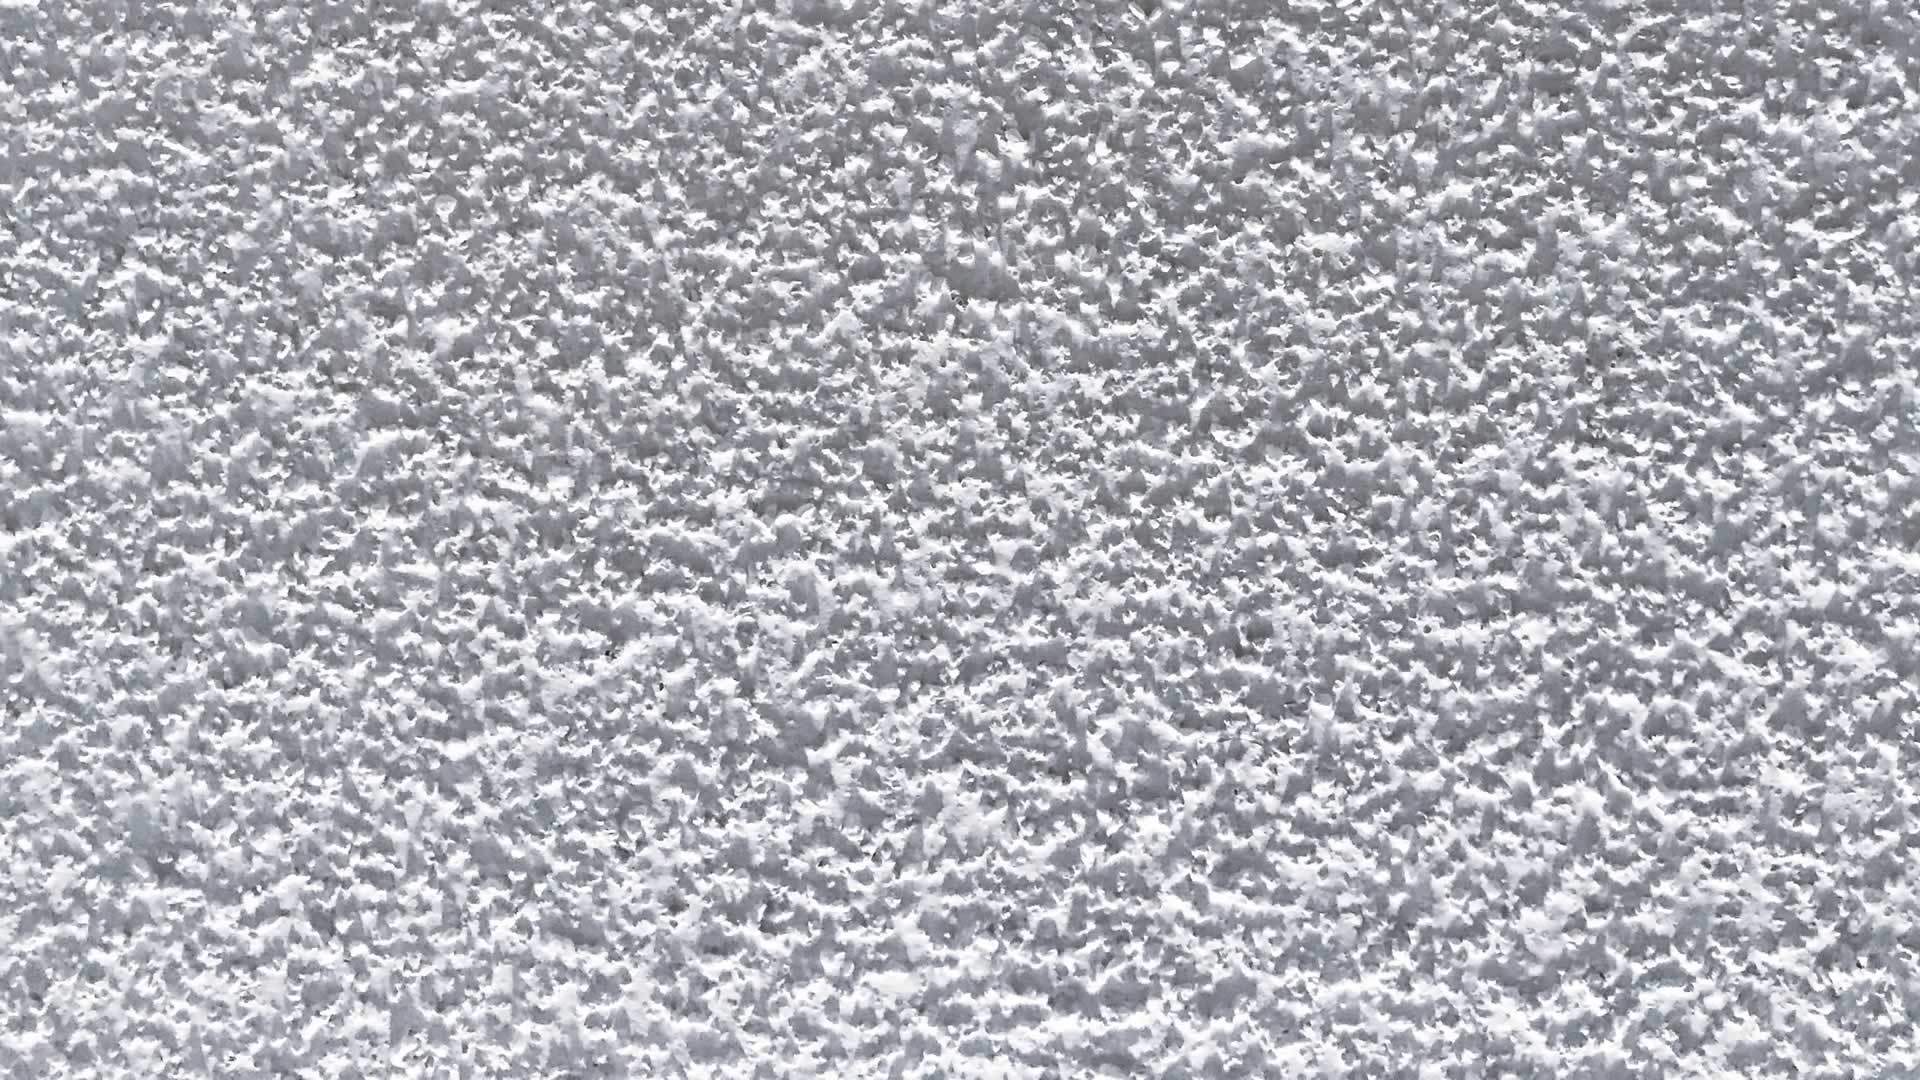
Blueboard is similar to standard drywall but was designed to work and bond with veneer plaster. It’s more absorbent with a smoother finish than standard drywall.
If you’re certain that you’re working with blueboard and plaster, it’s time to begin.
Step 1 – Assess the Damage
 Before initiating any type of repair, you need to determine how extensive the damage is.
If only the outer part of the wall is affected, that’s great news. However, if the water has penetrated the entire wall and goes back further, you’ll likely have to remove a portion of it.
Regardless of the extent of the damage, make sure you stop the source of the water before going any further. Repair any leaks as necessary, or your repair will be quickly undone.
Step 2 – Remove Damage
If the damage is on the surface, you may be able to dig it out with a putty knife. Start by scraping away any peeling or bubbling paint and general surface damage. Continue until you reach an undamaged area (it will feel hard compared to the soft water-damaged spots).
In some cases, you may need to cut out a section of plaster and blueboard entirely. Fortunately, you can do so with a sharp knife. Just make sure you remove the whole section so you’re not stuck going back in a second time to repair the remaining damage.
Step 3 – Clean it Up
Clean off any rough edges or debris from digging or cutting out the damaged area.
You want your surface to be as smooth as possible, though the patch work will take care of some of that.
Use a brush with stiff bristles around the previously damaged area.
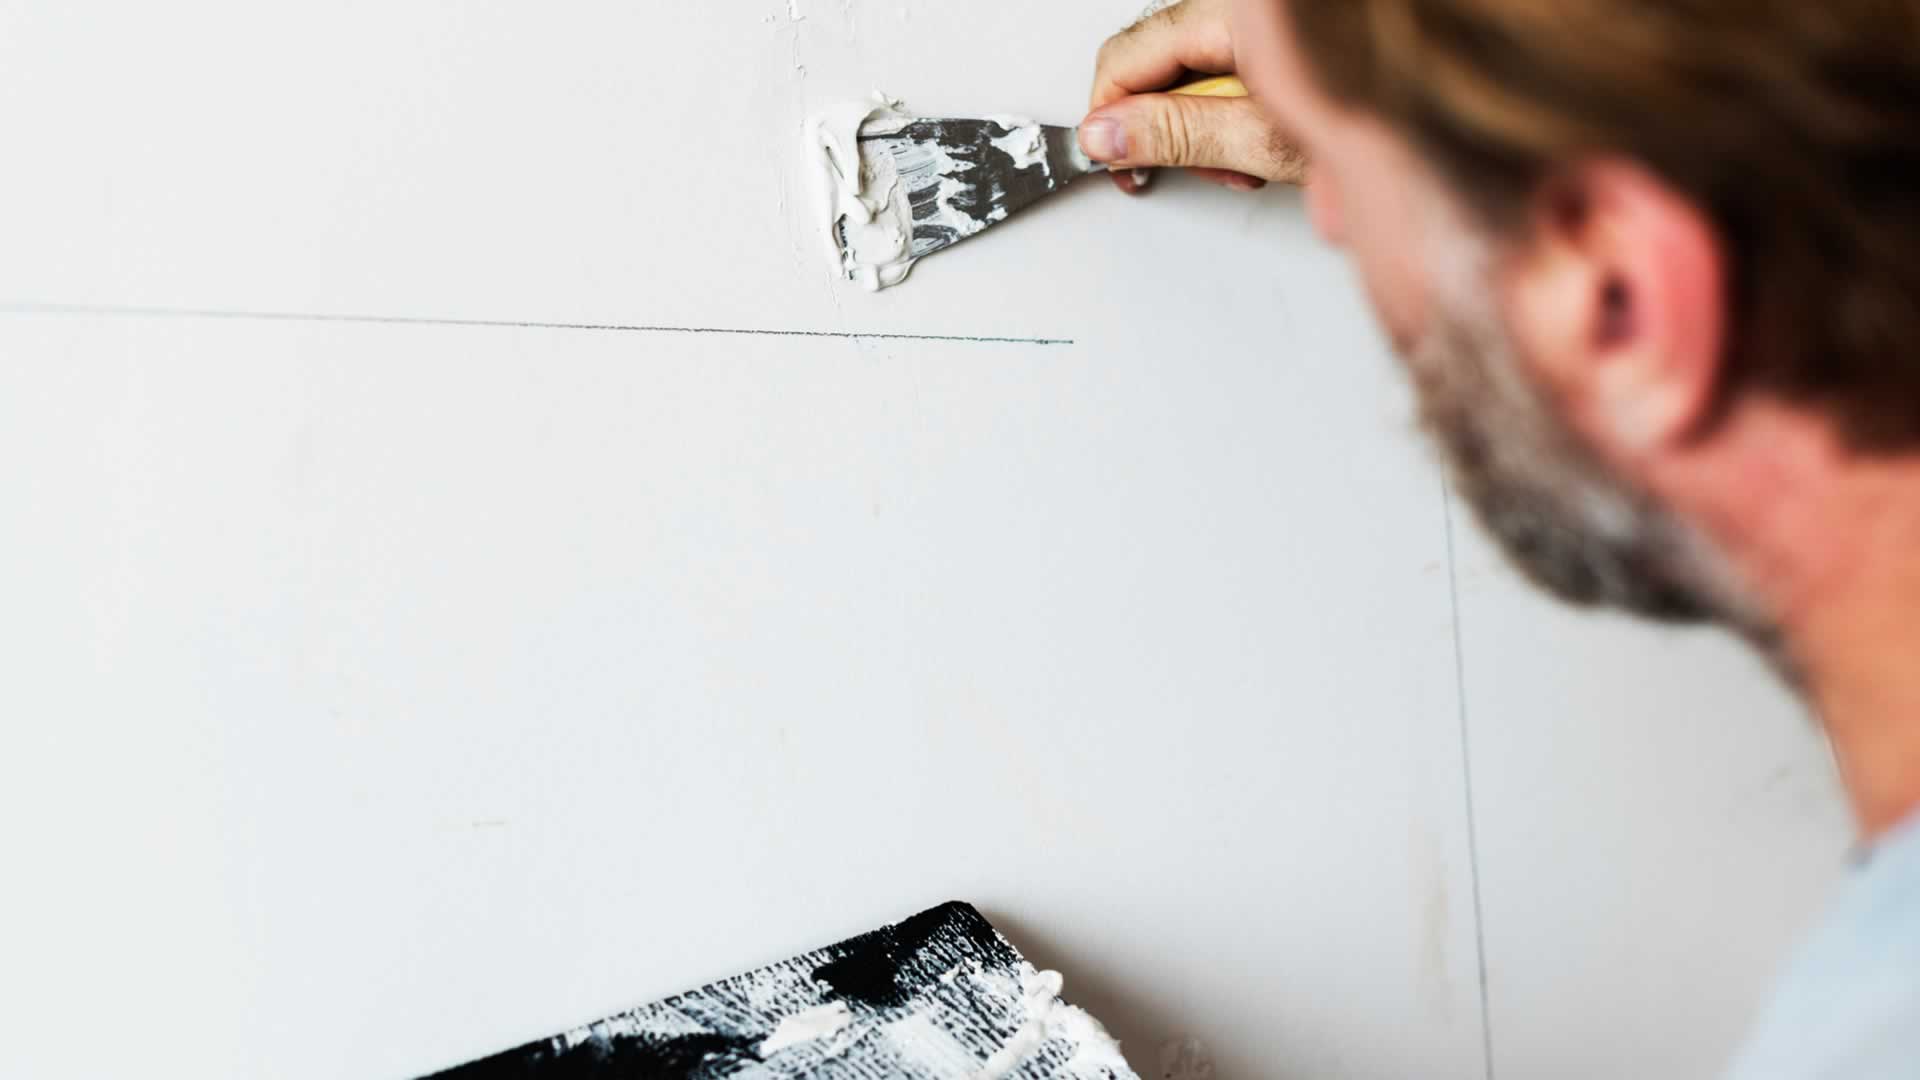
Step 4 – Patch
 This step depends on how bad the original damage was. If you were able to dig out damage from the surface and didn’t find it necessary to cut into a large piece of your wall, apply thin layers of joint compound or plaster over the spot until it’s even with the wall.
You want everything to look as natural as possible. Even when you paint, you’ll be able to spot the patch if it’s uneven.
If the damage was extensive enough to require cutting into the wall, you’ll need to install a real patch.
Secure a piece of backing on the inside of the hole you cut. It will be behind the rest of your wall. You can use a solid piece of wood or a spare piece of blueboard if you have it. Secure it in place with screws.
Once you have your backing, cut out a piece of blueboard to the same size as the hole and fit it into place in front of the backing.
You can use standard drywall for a patch job if you’re not concerned about it being noticeable after finishing and a coat of paint.
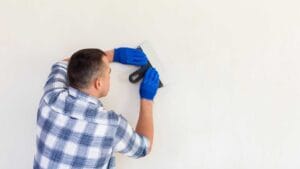
Step 5 – Tape
Using mesh or paper tape, tape around the patch’s edges.
Paper tape tends to provide a more seamless appearance with less effort, but both will secure the patch.
Step 6 – Cover
Once the patch is in place, take your mixed veneer plaster and plastering trowel and apply it in thin, skim coats until the patch is completely covered. It should blend as seamlessly with the rest of the wall as possible.
Veneer plaster is very hard, so you must work quickly to get an even coat. If it dries and you’re not satisfied, you may try another skim coat to even things out.
Step 7 – Paint
Veneer dries quickly, but once it’s completely set and you’re satisfied with the area’s appearance, you can apply your paint.
This should finish up the patch job and leave no trace of the water damage.
Final Thoughts
Water damage is inconvenient, sometimes even alarming, but repairs are possible.
Veneer plaster takes some finesse to get right, but with a steady hand, your walls or ceiling will look as good as new.
 At Master Plastering & Services Inc., we are dedicated to providing top-quality repair services for leaks in plaster and drywall walls.
Our team of specialized professionals has the knowledge and expertise to tackle any leak, whether it’s in traditional plaster walls or modern drywall.
We utilize advanced techniques and high-quality materials to identify and fix leaks efficiently and effectively.
Whether the leak is caused by structural wall damage or plumbing issues, we are prepared to address the problem and restore the integrity of your walls.
Don’t delay the solution to leaks in your plaster and drywall walls any longer. Contact us today to schedule a consultation and experience the difference our expertise and quality materials can make in keeping your property safe and protected against leak-related damages.