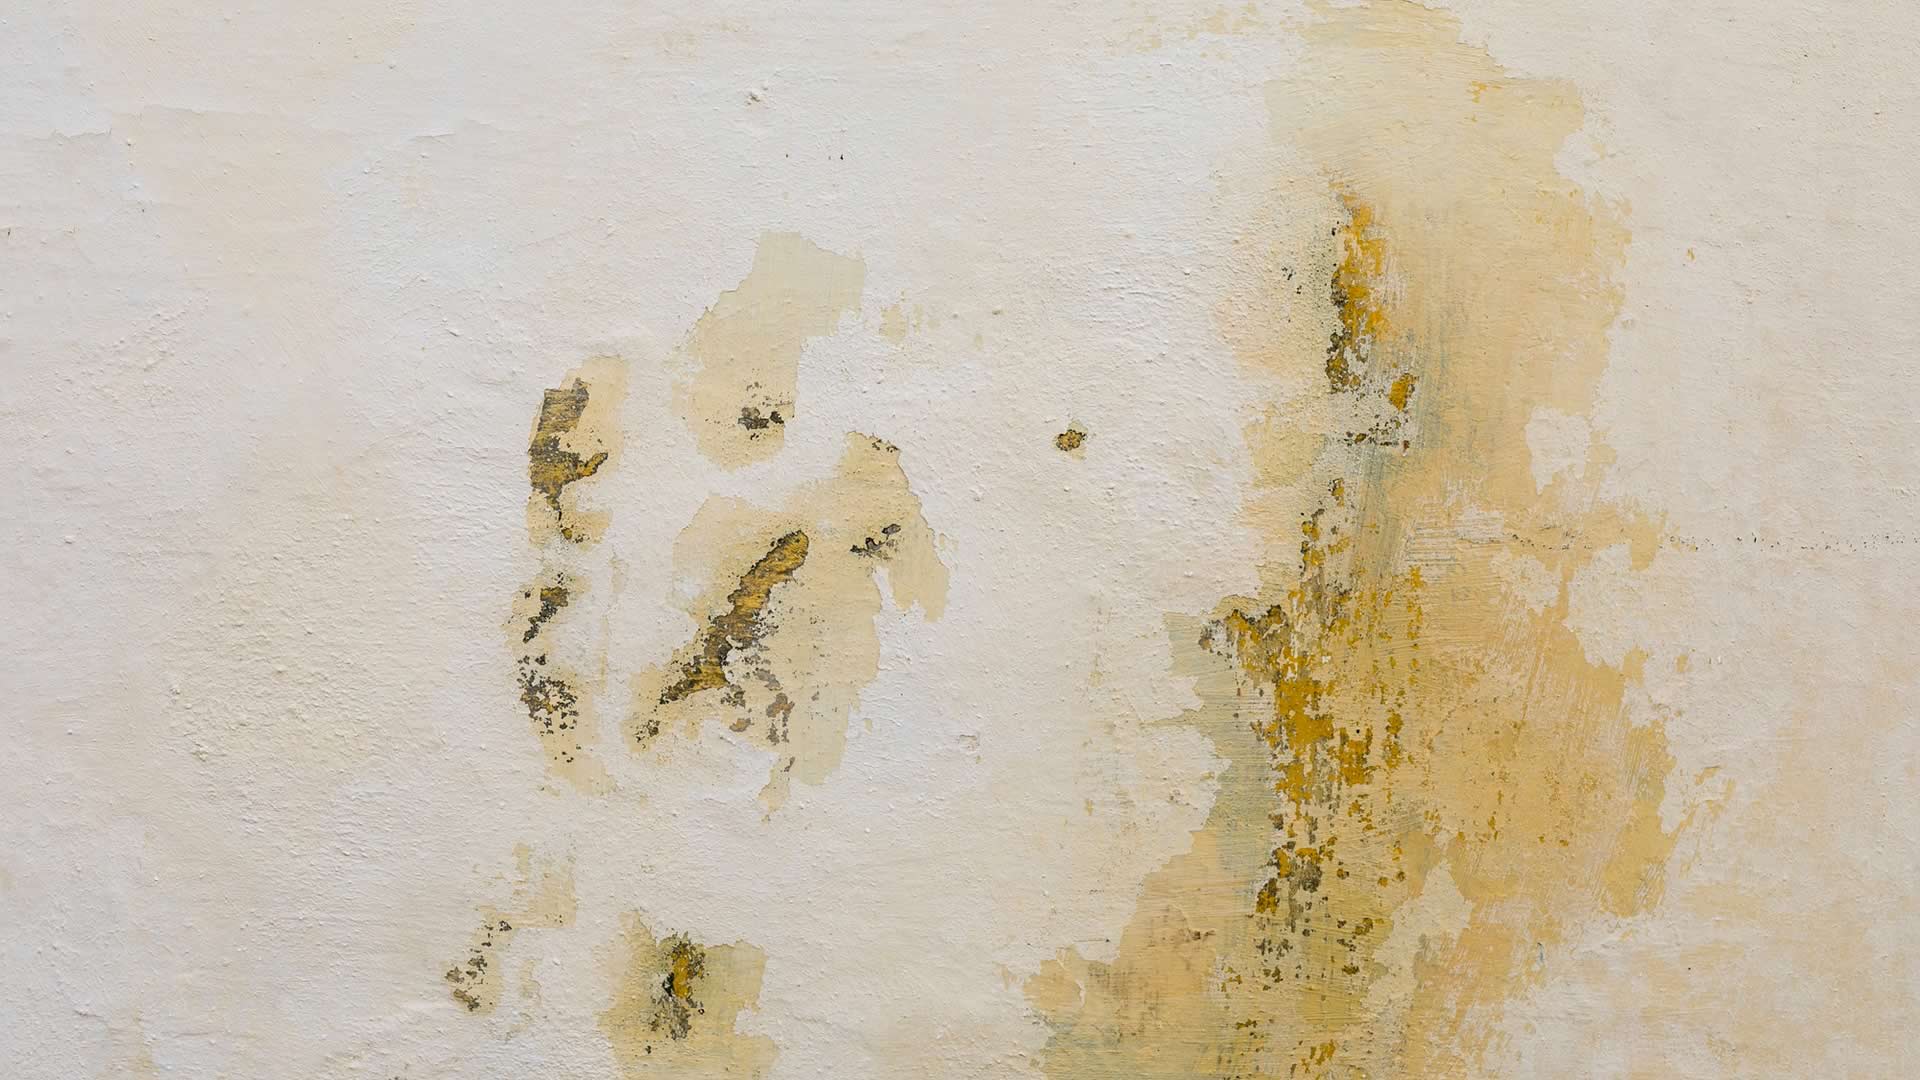
Popcorn ceilings have several different benefits. They can hide imperfections, evidence of old leaks, cracks, and more. They’re also easy and affordable to install. However, difficult repairs tend to be one of the biggest downsides to the design. Because the texture varies and isn’t uniform, it’s hard to seamlessly match it if you need to repair a section of the ceiling. That contradicts the idea that it covers imperfections.
Difficult doesn’t mean impossible, though, and it’s possible to match a popcorn ceiling after repairs. If you’re facing this issue, or just want to know what to do in case it’s a future concern, follow along with the steps below to make repair popcorn repair work disappear.
Step 1 – Repair the Damage
Before you worry about matching your popcorn texture, make sure the underlying issue is addressed. Take thorough care of any leaks, cracks, or whatever necessitates the repair to begin with. Otherwise, you risk further damage to your home and repeating the whole repair process again.
Step 2 – Prepare the Area
Some repairs may necessitate removing a piece of the ceiling entirely and replacing it with a patch. Others, like a minor leak, may simply require you to remove your previous popcorn texture by scraping and sanding the affected area. Take precautions, especially if your ceiling was put in place before 1978 and may contain asbestos.
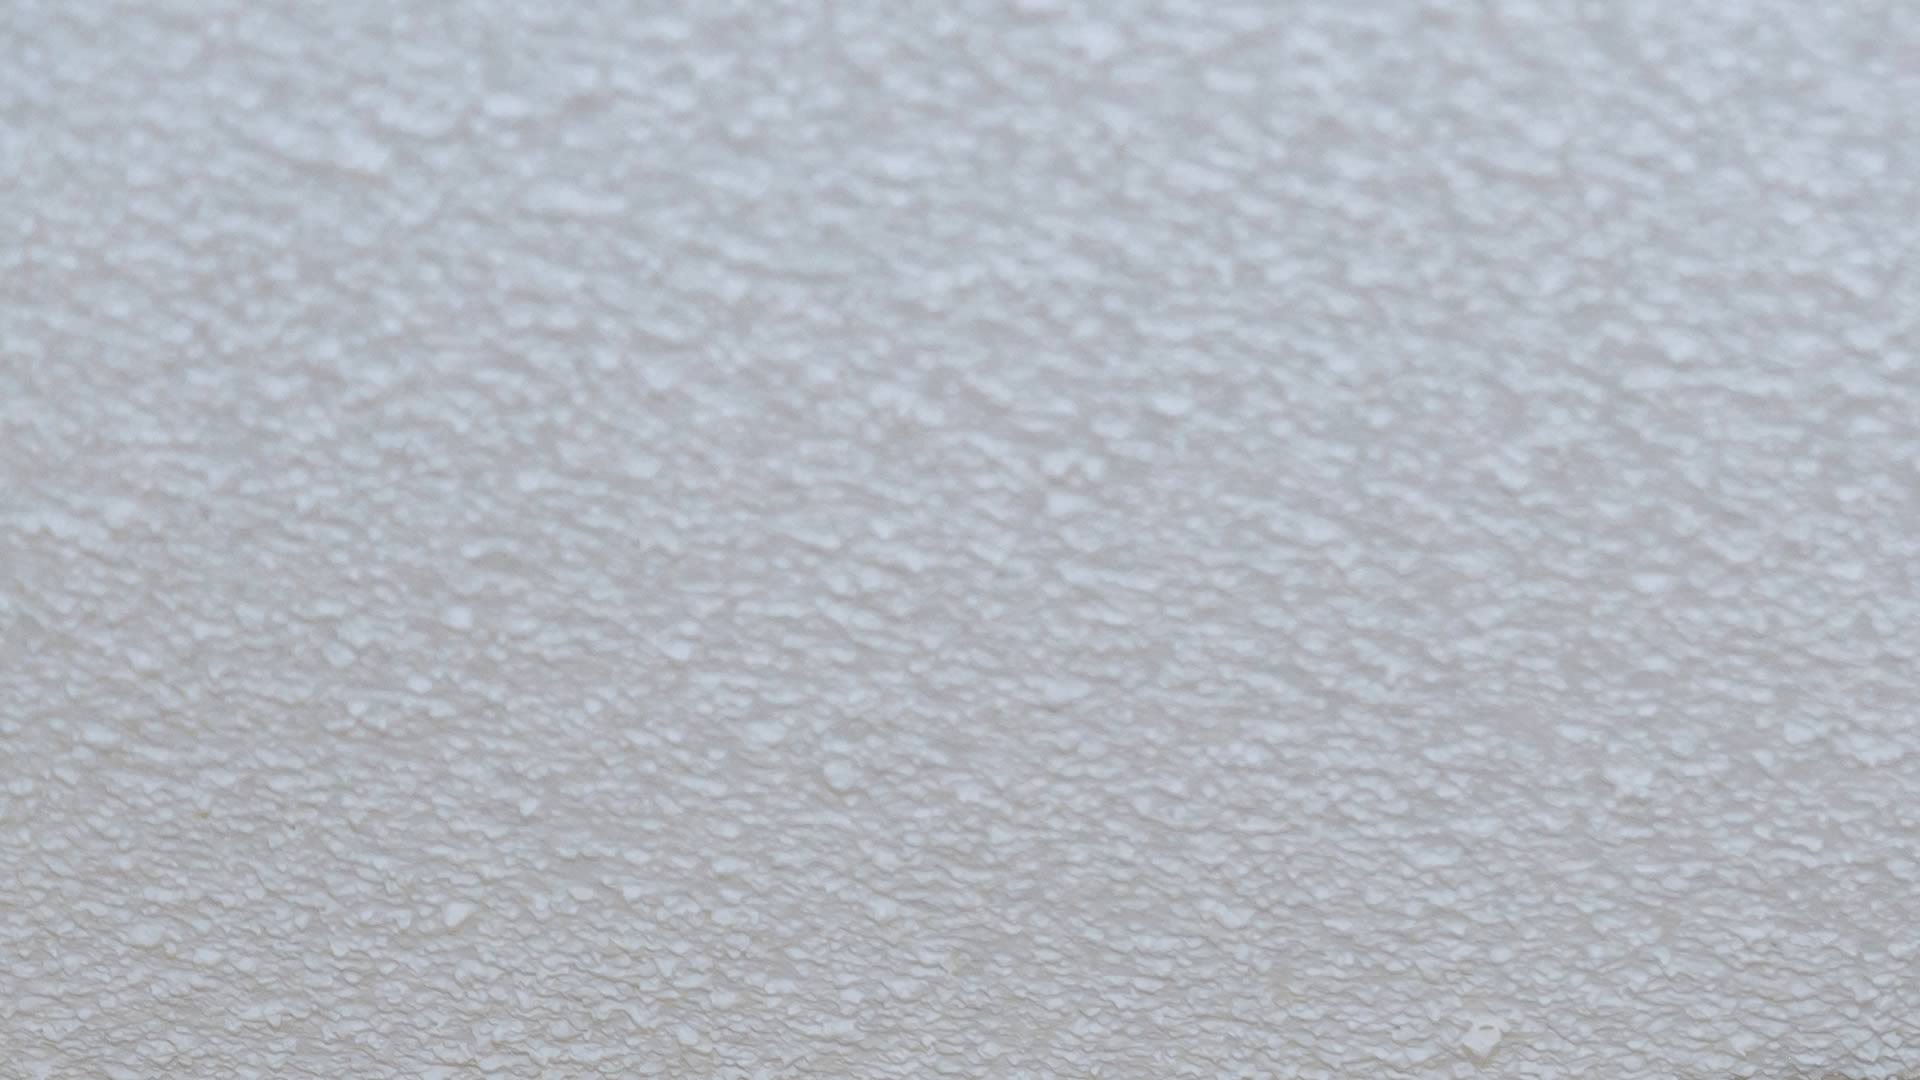
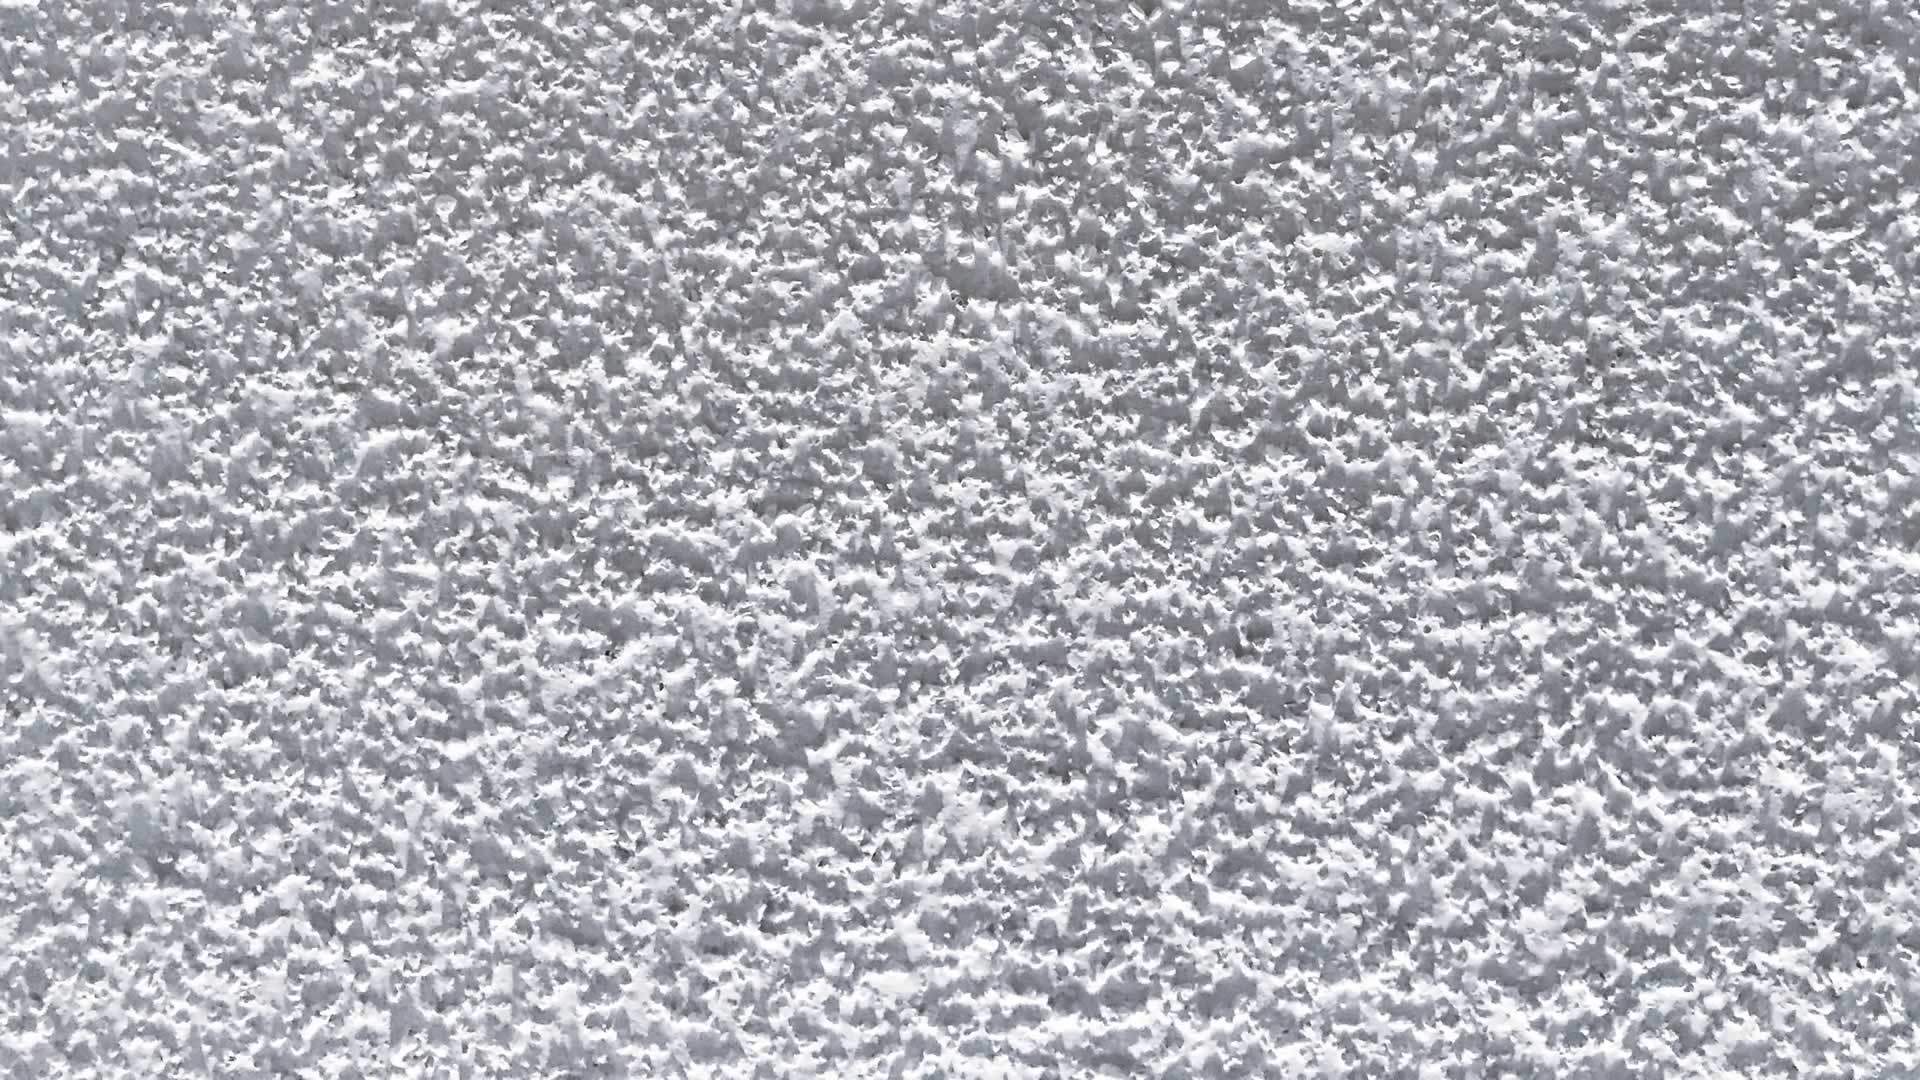
Step 3 – Find Your Style
If you’re not paying close attention, all popcorn ceilings may look similar. But there are actually different styles out there, and the first step to matching yours is figuring out which one you have in your home. The most common styles are usually called “cottage cheese” and “acoustic” and repair kits come in different grades to match. Usually, you’ll find them in coarse, medium, and fine-grade options, so choose the right one for your ceiling.
Step 4 – Choose Your Patch
You can typically find the popcorn ceiling texture in sprays, but there are also roll-on options.
Spray tends to be easier to apply and comes pre-mixed. If this is the first time you’ve used a drywall patch or you’re not particularly experienced with DIY work and repairs, the spray is more forgiving.
Roll-on patches usually require you to mix the material yourself. They make it easier to get the exact texture you’re looking for, but they require more skill to use than spray-on texture.
Step 5 – Apply and Adjust
Follow the kit instructions to begin the application. Keep in mind, you can adjust later, so if you’re struggling to get the right texture it may be best to let your current work dry and give it another go afterward. Some patches may take a day or so to dry, so this may not be a project you get done in a single afternoon.
If your ceiling doesn’t look quite right after one application, go back in and fine-tune the texture. Fortunately, if things go poorly, you can always scrape off the texture and completely start over.
Step 6 – Get A Matching Paint
Your final step to a seamless popcorn ceiling repair job is finding matching paint. Fortunately, this is quite easy for popcorn ceilings. If you’ve already scraped off some of the material to apply to the patch, simply take it to your local paint shop or a home improvement store with a paint department. They’ll be able to do a perfect color match, and you’re well on your way to finishing the job.
Painting with a sprayer is the easiest way to cover popcorn ceilings, but they can be expensive to purchase if you won’t get much use out of them. If a rental isn’t an option, you can go with the roller method. Opt for a softer, thicker nap or pile (at least ⅜ inches) for the best coverage.
Conclusion
 Repairing popcorn ceilings may require some extra effort, but it’s definitely achievable with the right approach. By following these steps, you can effectively match and repair your popcorn ceiling, ensuring a seamless finish.
It’s crucial to address the underlying issues first and prepare the area properly before proceeding with the repair. Identifying the specific style of your popcorn texture will help you choose the right patch material.
Whether you opt for a spray or roll-on patch, carefully follow the instructions and adjust as needed to achieve the desired texture. Once the texture is applied and dry, obtaining a matching paint color is essential for a flawless result.
With patience and the right tools, your repaired popcorn ceiling will blend in seamlessly, leaving no trace of the repair. At Master Plastering & Services Inc., we can assist you in popcorn ceiling repairs and provide expert guidance throughout the process. Contact us today to ensure a professional and flawless repair for your popcorn ceiling.